Over 300,000 orders shipped since 2005
FREE Delivery on orders over £45
Creating a Sensory Space at Home: A Practical Guide for Parents
If you have a child with additional needs at home, you’ll know the importance of making home more than just a place to live—it’s a place to feel safe, understood, and regulated. Creating a sensory area, corner, or full sensory room can be a powerful way to support your child’s emotional wellbeing, focus, and independence.
The good news? You don’t need a huge budget or extra room to get started. With a bit of thought and creativity, you can design a space that works for your child and your home.
What Is a Sensory Space?
A sensory space is a dedicated area designed support your child’s sensory needs by helping them to regulate their sensory input. Depending on your child’s needs, this space can either:
Many children—especially those with autism, ADHD, sensory processing differences, or anxiety—benefit from having a predictable, safe space where they can reset.
Why Create One at Home?
Children experience the world in very different ways. Everyday environments can sometimes feel too loud, too bright, or too unpredictable. A sensory space gives them:
It can also make daily routines smoother—for both your child and you.
Sensory Corner vs Sensory Room: What’s Right for You?
You don’t need a spare room to make this work.
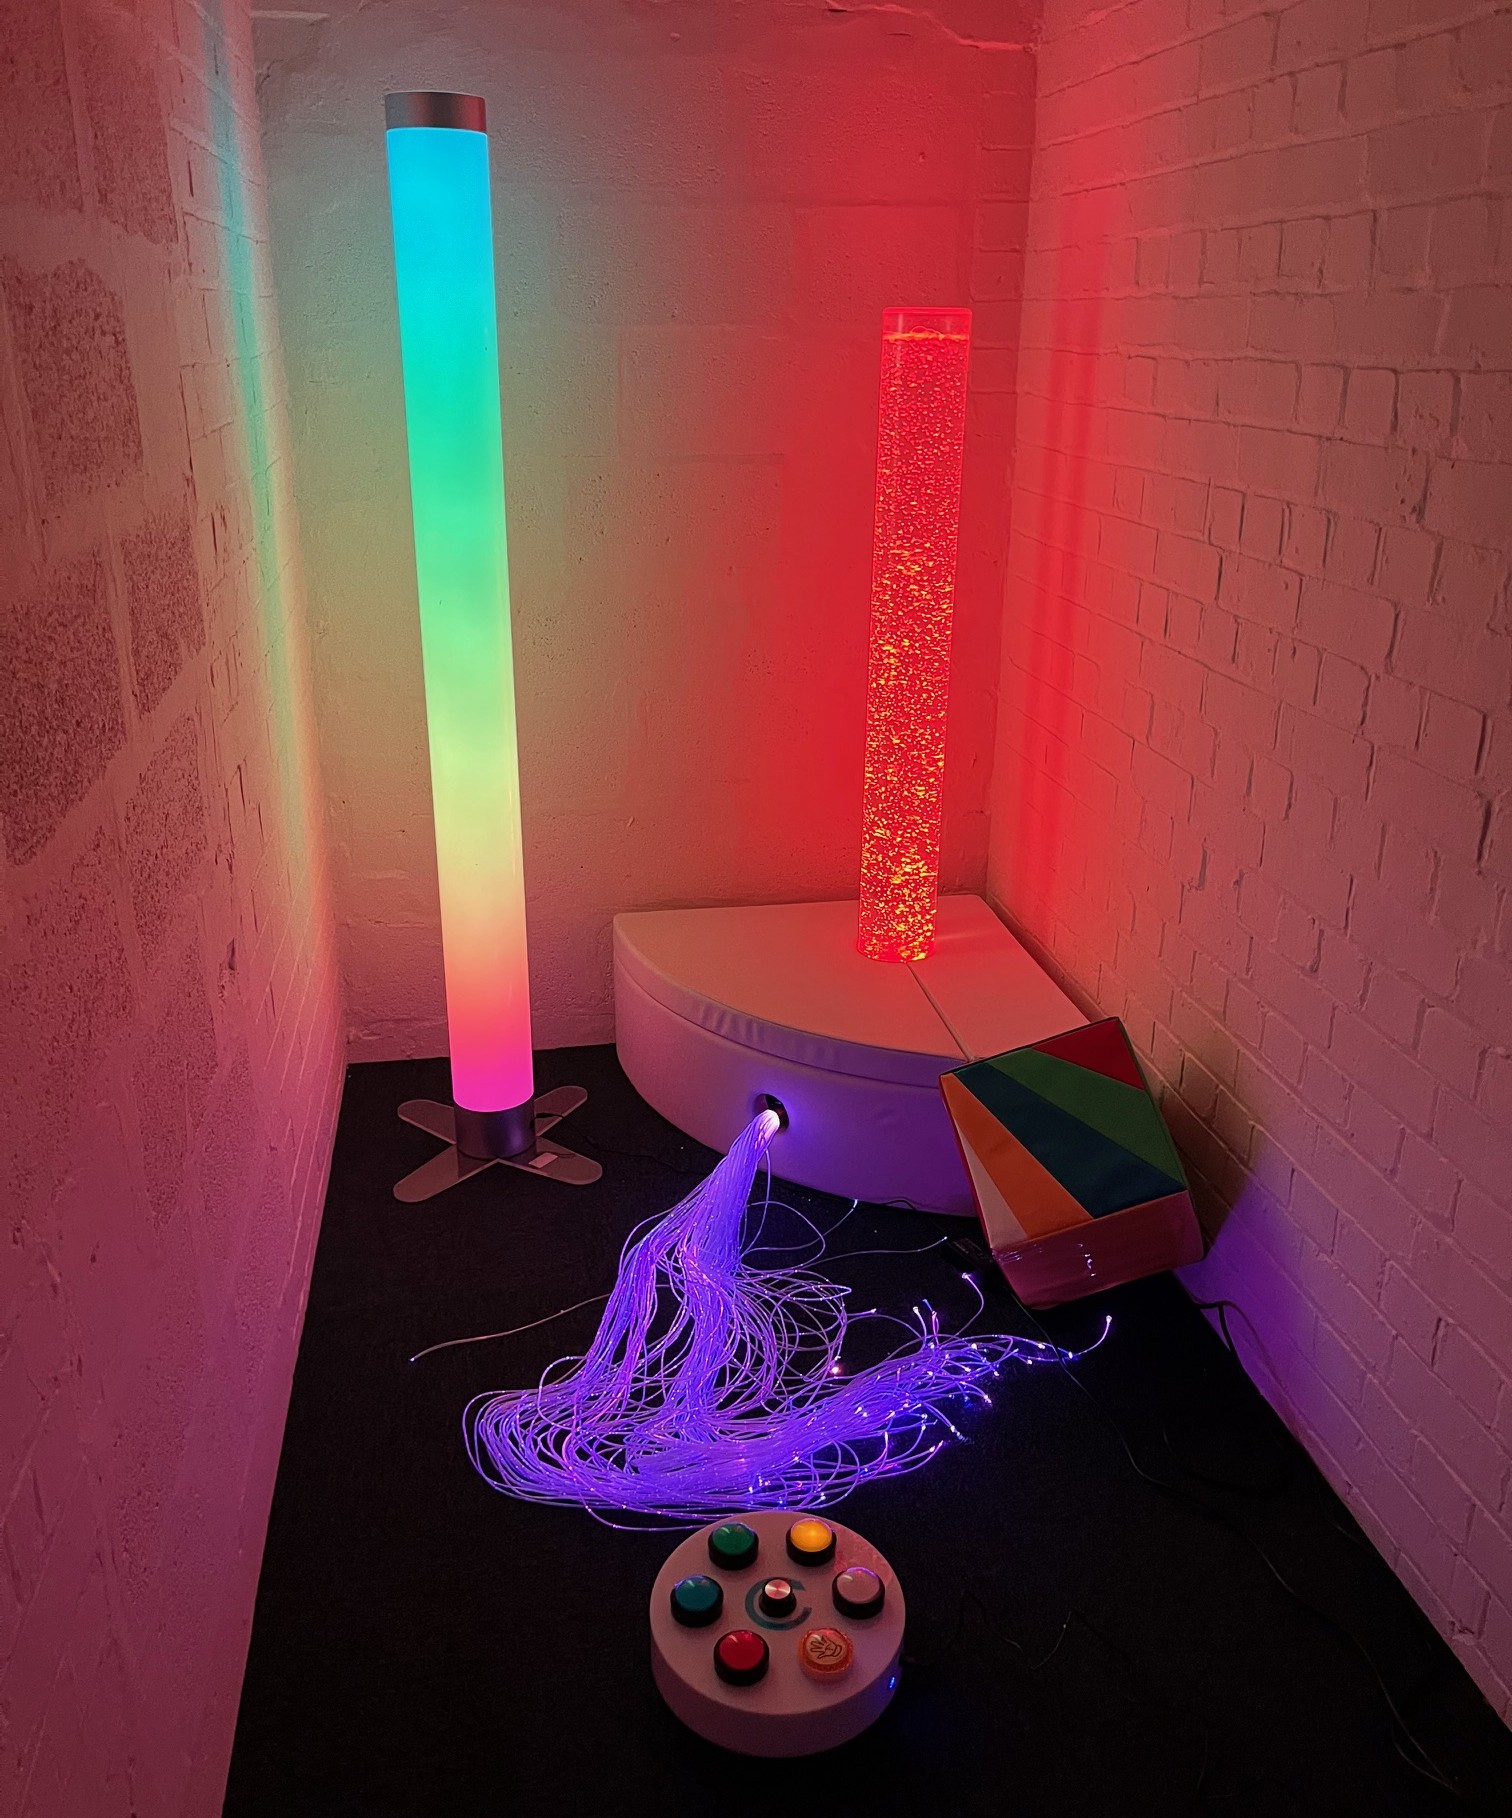
Sensory Corner
Perfect if space is limited. This could be:
Sensory Room
If you have the space, a full room allows for more equipment and flexibility—but it’s not essential.
Key takeaway: It’s not about size—it’s about intention.
Step 1: Understand Your Child’s Needs
Before buying anything, observe your child:
Your sensory space should reflect their preferences—not a generic checklist.
Step 2: Choose the Right Location
Look for a space that:
Even a small, defined boundary (like a rug or canopy) can signal: this is your space.

Step 3: Build the Basics
You don’t need everything at once. Start small and simple simple and build over time.
Depending on your child:
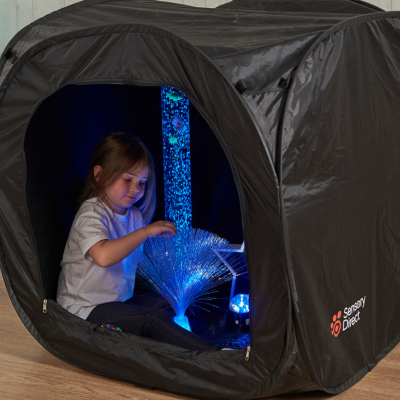
Sensory Den and lights
Step 4: Keep It Flexible
Your child’s needs may change over time—and even throughout the day.
A great sensory space:
Keep it simple and uncluttered. Rotate items in and out to keep the space engaging but not overwhelming.
Step 5: Teach Your Child How to Use It
A sensory space works best when your child understands its purpose.
You can:
Over time, it becomes a tool—not just a place.
Common Mistakes to Avoid
Final Thoughts
Creating a sensory space at home is one of the most meaningful ways you can support your child’s wellbeing.
Start small and observe your child. Stay curious. Let your child lead the way.
And remember—you’re not aiming for perfect. You’re creating something that works for your family.